This is a guide to photographing the Triangulum Galaxy with a DSLR and a Lens. The Triangulum Galaxy, Messier 33, is one of the brightest galaxies in the night sky. M33 can be seen with the naked eye under exceptional conditions and makes an excellent object for DSLR and Lens photography. It is the second closest galaxy after the Andromeda Galaxy and thus is the second brightest. Learn more about how to photograph the Andromeda Galaxy with a simple DSLR.
About the Triangulum Galaxy
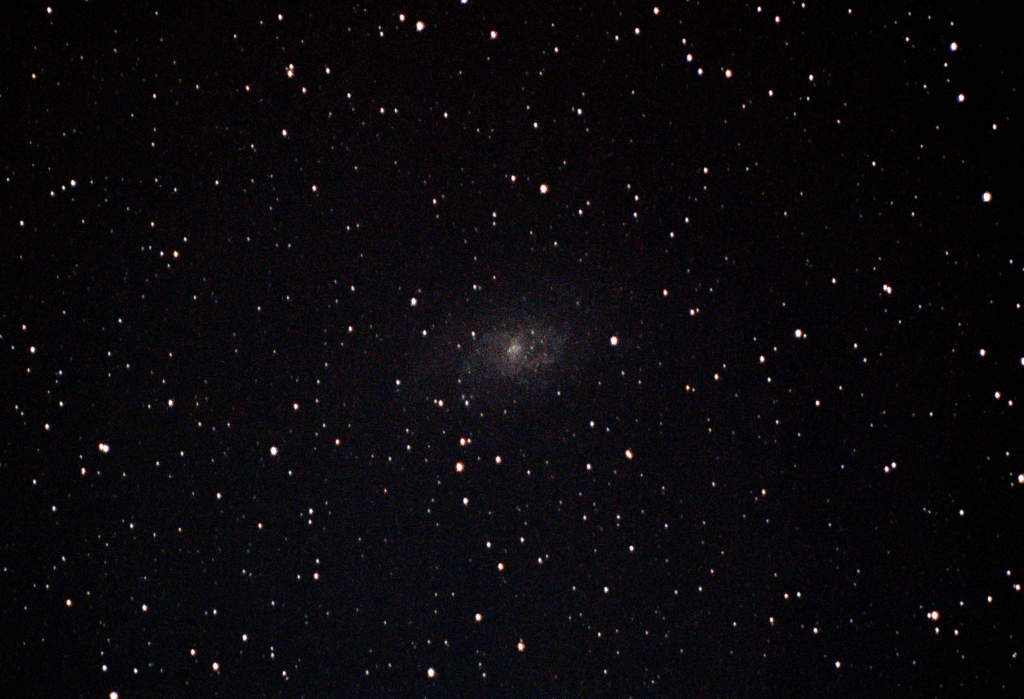
The Triangulum Galaxy (Messier 33 or NGC 598) is a spiral galaxy located about 2.73 million light-years from Earth in the constellation Triangulum. It is the third-largest galaxy in the Local Group, after the Andromeda Galaxy and the Milky Way, and spans approximately 60,000 light-years in diameter. Unlike Andromeda and the Milky Way, Triangulum lacks a prominent central bulge, giving it a more loosely wound spiral structure. It contains numerous star-forming regions, including the massive H II region NGC 604. The Triangulum Galaxy is thought to be a satellite of the Andromeda Galaxy and may eventually merge with it in the distant future.
For astrophotographers, the Triangulum Galaxy is a popular target due to its relatively bright magnitude of 5.7 and large apparent size. It is best viewed under dark skies and can be captured with moderate telescopes or even telephoto lenses. Long-exposure imaging reveals intricate spiral arms, rich in pinkish-red nebulae, and numerous blue star clusters. The best time to photograph it is during autumn and winter in the Northern Hemisphere when it reaches high altitude in the sky.
How to Find the Galaxy
- Find the Triangulum Constellation
M33 is located in the small Triangulum constellation near the constellations Andromeda and Aries. Three stars form the constellation: Alpha (α) Trianguli, Beta (β) Trianguli, and Gamma (γ) Trianguli, forming a triangle shape.
To pinpoint the camera’s position towards the galaxy, you can use Stellarium and star-hop to the galaxy’s location: –

2. Set your DSLR camera for optimal settings
The Triangular Galaxy can be photographed with a simple DSLR and fixed lens on a tripod. The following settings should be set up on the DSLR for taking the shots.
- Manual Focus
- RAW picture format
- ISO fixed to 3200 (or 1600)
- Exposure: 1 second
- Light Frames: 400
The DSLR and Lens for Photographing the Triangulum Galaxy:-
The DSLR that I used was the Canon 2000d, and the lens was a Canon 300mm with an f-stop of 5.6. You can use a similar DSLR and lens, which you might already have. Using an affordable DSLR and Lens can do much more than you thought it would. Check out the best budget DSLR cameras for astrophotography if you’re looking for one.
Taking Light Frames:-
Light frames are the actual pictures of the object that you will be stacking later on. So, to get a clear picture of the object, you first need to correct the focus of the camera. This can be done by pointing the camera towards a bright star, such as Mizar and adjusting the focus so that you get a clear star on the live view with crisp borders. Now, go ahead and bring the galaxy into the centre of the screen. You may need to take a few test shots to see where the nebula is in the picture. Finally, take as many light frames as you can. Remember, the settings must be set before taking the light frames. Especially, keep the exposure at no more than 1 second or the stars will start trailing. Also, take the pictures in RAW format, as that is crucial for stacking.
Taking Calibration Frames:-
Taking calibration frames isn’t necessary, but they can greatly improve the quality of your final picture and can also make the post-processing a lot easier. Calibration frames consist of Dark Frames and Flat Frames. To take dark frames, simply cover the lens with its cap and take around 50 pictures, keeping the rest of the settings the same. Flat frames are crucial for removing vignetting from the stacked pictures. To take flat frames, set the camera to Av mode and cover the lens with uniform white light. This can be done by covering the lens with a white cloth and taking the frames in daylight while all the other settings are maintained. Take around 50 of these.
Post-Processing with GIMP:-
For post-processing, the software I use is GIMP as it is free and easy to use. Post-processing requires practice and time. It is crucial for getting a wonderful astrophoto. For the most part, I learned this from trial and error, working on different stacked photos. Do not be intimidated by this process as you will finally get the hang of it. Apparently, I have not mastered it, and there are several things I look forward to improving on.
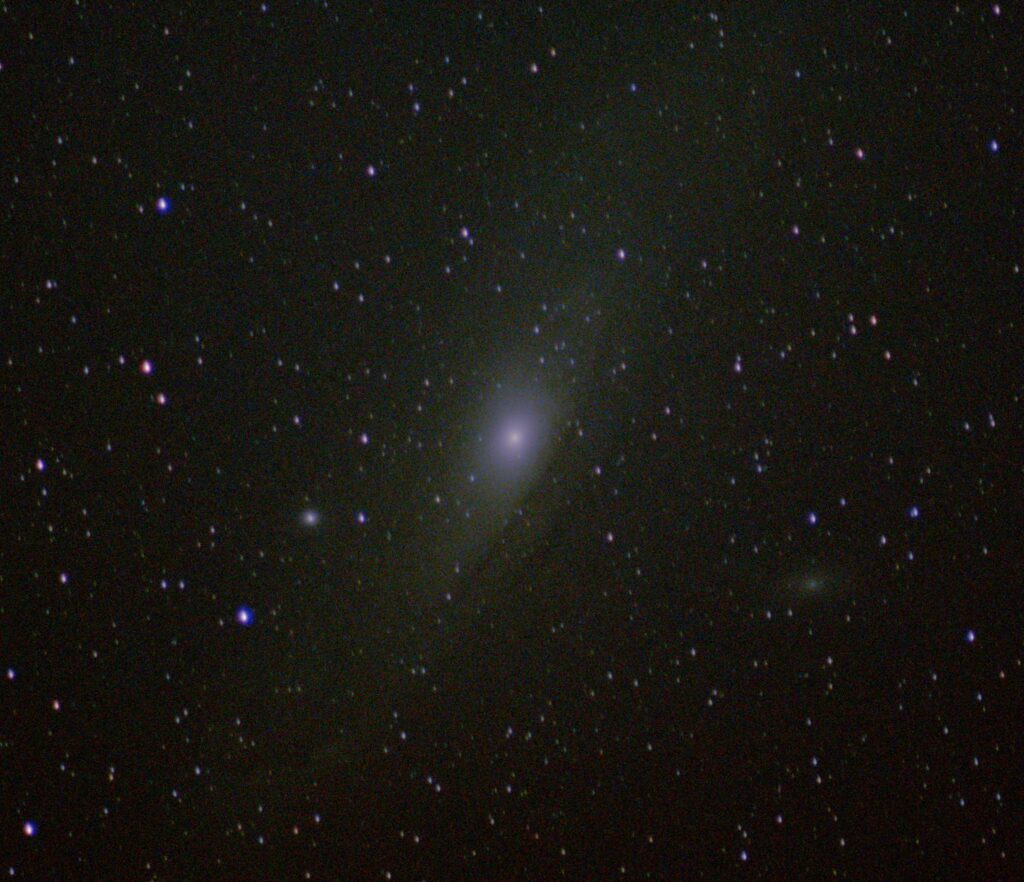
Final Image: –

You could definitely see your skills in the paintings you write. The world hopes for more passionate writers like you who aren’t afraid to mention how they believe. At all times go after your heart. “Until you’ve lost your reputation, you never realize what a burden it was.” by Margaret Mitchell.
JiliPH’s game variety and smooth interface make it a standout, especially with hits like Fortune Gems. For a quick start, check out Jilivip-it’s a solid choice for new and seasoned players alike.
Sprunki Game really elevates the Incredibox experience with fresh beats and unique visuals. It’s a creative boost for music lovers. Check it out at Sprunki Game!
It’s fascinating how AI is reshaping design workflows. Tools like Lovart AI offer smart suggestions and canvas integration-perfect for blending creativity with efficiency.
FNaF really brings tension and strategy together-loving how each game ramps up the scare factor. If you’re into survival horror, check out FNAF Game. It’s a must-play with solid cross-platform support!
If you love slots with strategy and big wins, check out Super Ace—its 1024 ways to win and free spins feature make it a must-try for thrill-seekers.
I’ve been spinning the reels on SuperPH22 lately, and the 1024 ways to win really keep things exciting. The golden card symbols and free spins feature add a fun twist-definitely a solid pick for casual slot fans!
Looking for a smooth mobile gambling experience? Jili OK stands out with AI-driven insights and a top-tier game selection that keeps players engaged and secure.
Online gambling thrives on security and trust-both critical for platforms like PH987. Their live dealer games and slot variety shine, but always prioritize sites with military-grade safety and clear deposit processes.
Great insights on betting strategies! It’s refreshing to see the connection between data analysis and real-world outcomes. For those looking to explore a dynamic gaming platform, check out jljlph 13 for an exciting mix of slots, live dealers, and fishing games.
Perfect work you have done, this web site is really cool with excellent info .