How to Photograph the Andromeda Galaxy with a DSLR
This blog describes what the Andromeda Galaxy is and how anyone can photograph it without the use of a telescope or a star tracker.
ABOUT THE OBJECT: the Andromeda Galaxy, also named M31 in the Messier Catalogue, is a galaxy located about 2.5 million light-years away. A galaxy is a collection of millions of stars held together by gravitational attraction. Our own galaxy is the Milky Way, named so due to its appearance from Earth, which looks like a trail of milky white hue in the night sky. The Andromeda Galaxy is twice as big as our Milky Way and contains many more stars.
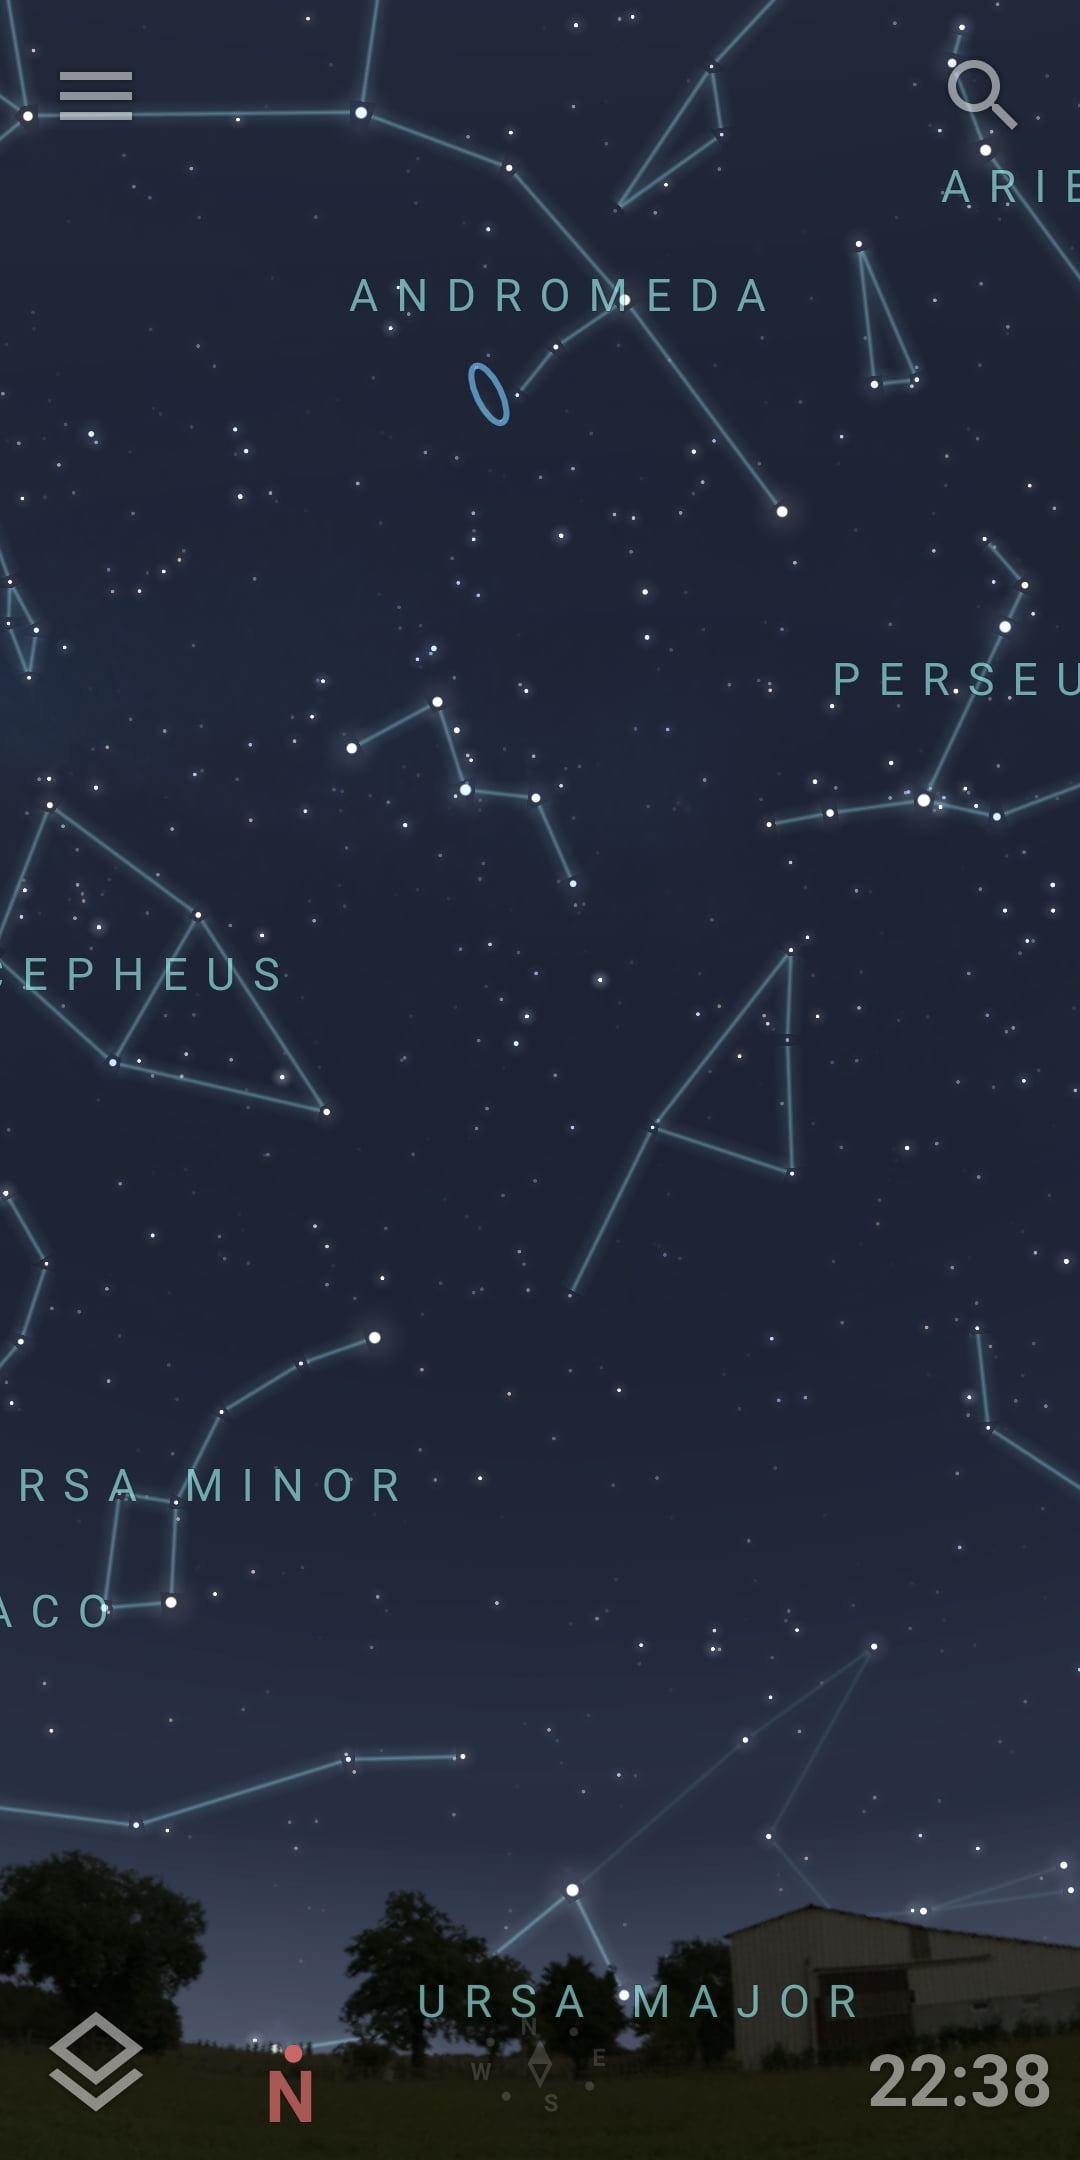
HOW TO FIND IT: The Andromeda galaxy lies in the constellation of Andromeda near the bright star Mizar. You can easily locate it with the mobile applications Stellarium or Sky Maps.
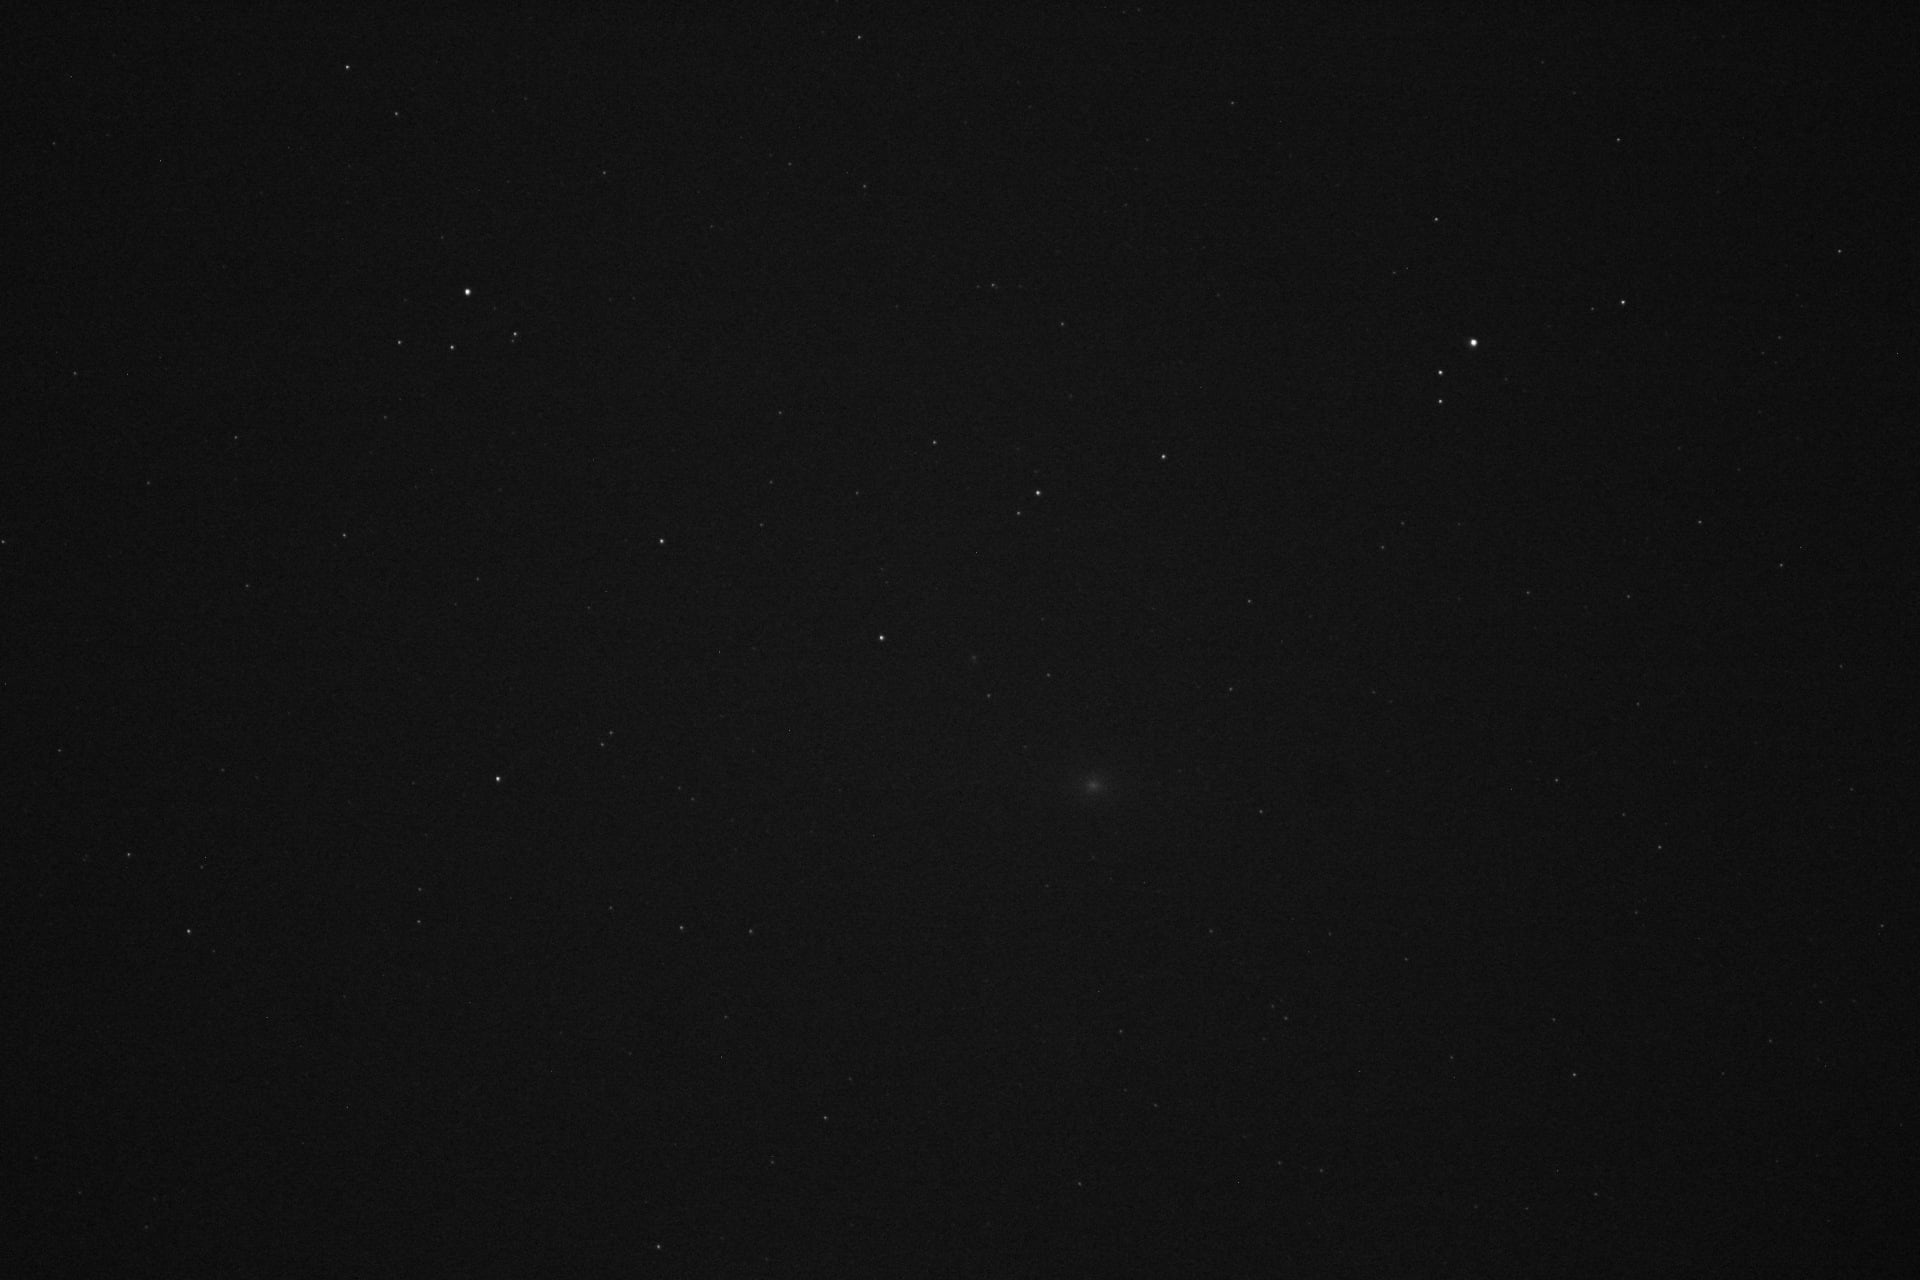
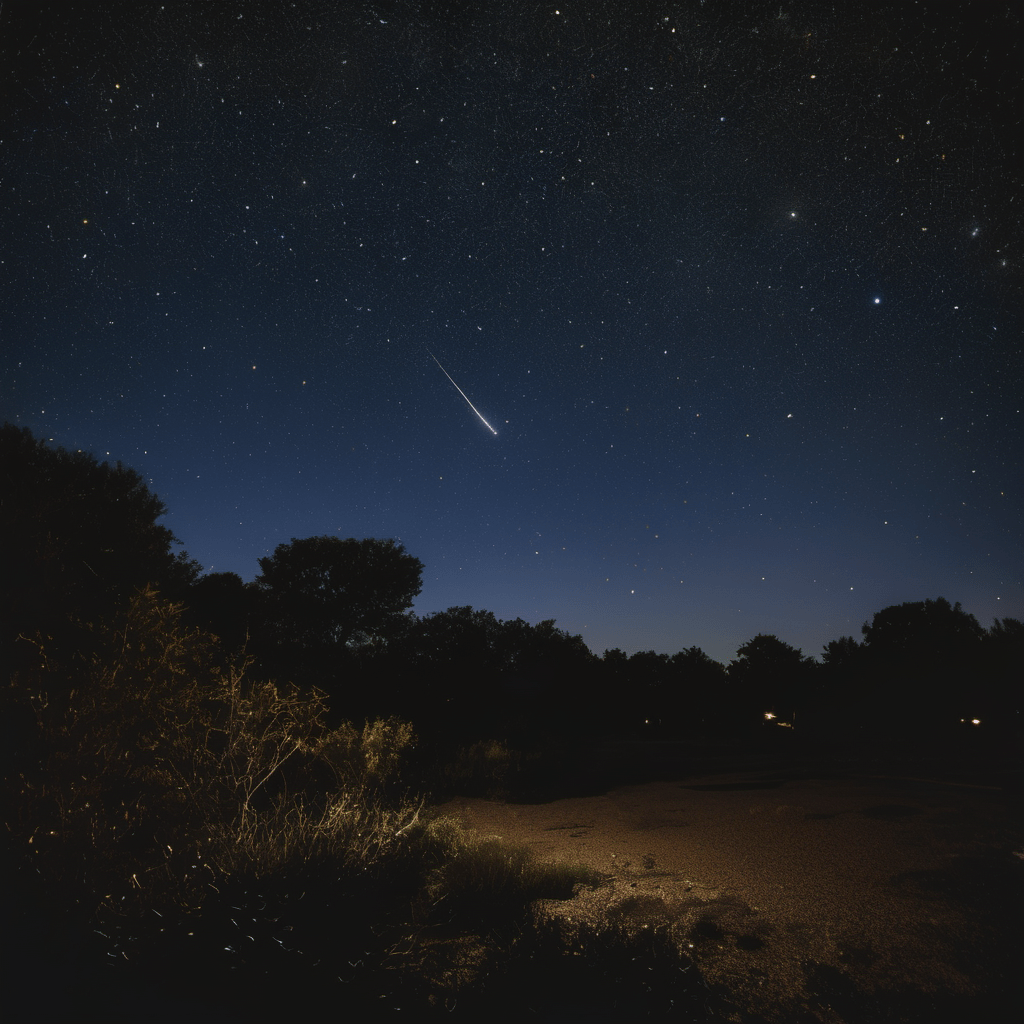
HOW I CAPTURED IT: The Andromeda Galaxy is one of the easiest deep sky objects to photograph with a DSLR and a camera lens. Having an apparent magnitude of 3.40 it is easily visible in a dark sky without light pollution. However, in a city you have to look through binoculars or take a photograph with a dslr. Here is a single frame of the Andromeda galaxy with a DSLR.
The galaxy even at such a large distance has a size of about 6 full moons in the night sky. this means that a lens with a high magnification or a telescope is not compulsory for getting a good shot of this object. A regular 75-300 zoom lens will do a great job of taking the picture.
TAKING LIGHT FRAMES: The light frames are the individual images of the object taken with the camera and lens. A large number of them have to be taken in order to be stacked together so that the data from all of them can be extracted and the signal-to-noise ratio can be improved. For this project, I took about 400 photographs of the galaxy. To take light frames, I first corrected the focus by focusing manually on a bright star, then I took several test shots to locate the galaxy using the mobile app Stellarium. When finally the galaxy was centered in the frame, I fixed the position of the camera. I set the ISO to 6400 and the exposure time to 1 second. Then I changed the settings to allow the camera to shoot ten photos continuously after a timer of 10 seconds. Later, I found that I could continuously shoot pictures remotely by connecting my mobile phone via WIFI and using the continuous shoot settings on it. The gear is listed below:
- Camera : Canon 2000D
- Lens: Canon EF 75-300mm
- A tripod
- Mobile as remote shutter
The Settings and the Conditions:
- Exposure time: 1 sec
- ISO: 6400
- Light Frames: Around 400
- Aperture: 5.3 (lowest possible)
- Light Balance: Daylight
- Manual Focus
TAKING CALIBRATION FRAMES: Calibration frames consist of dark, bias, and flat frames these are taken to improve the quality of the image and remove noise, dark pixels and vignetting. To take dark frames just cover the lens with the lens cap and keeping all settings the same take about 50 pictures. 50 bias frames were taken with the cap at the highest shutter speed of 1/4000. The flat frames were taken with a uniform light source like a white screen on top of the lens with the same focus at Av mode.
STACKING AND POST-PROCESSING: Bringing all these images on to my laptop I uploaded them on Deep Sky Stacker and stacked them. This took about 2 hours. After that I brought the final stacked TIF file into the free image processing software called GIMP. This is the final picture:
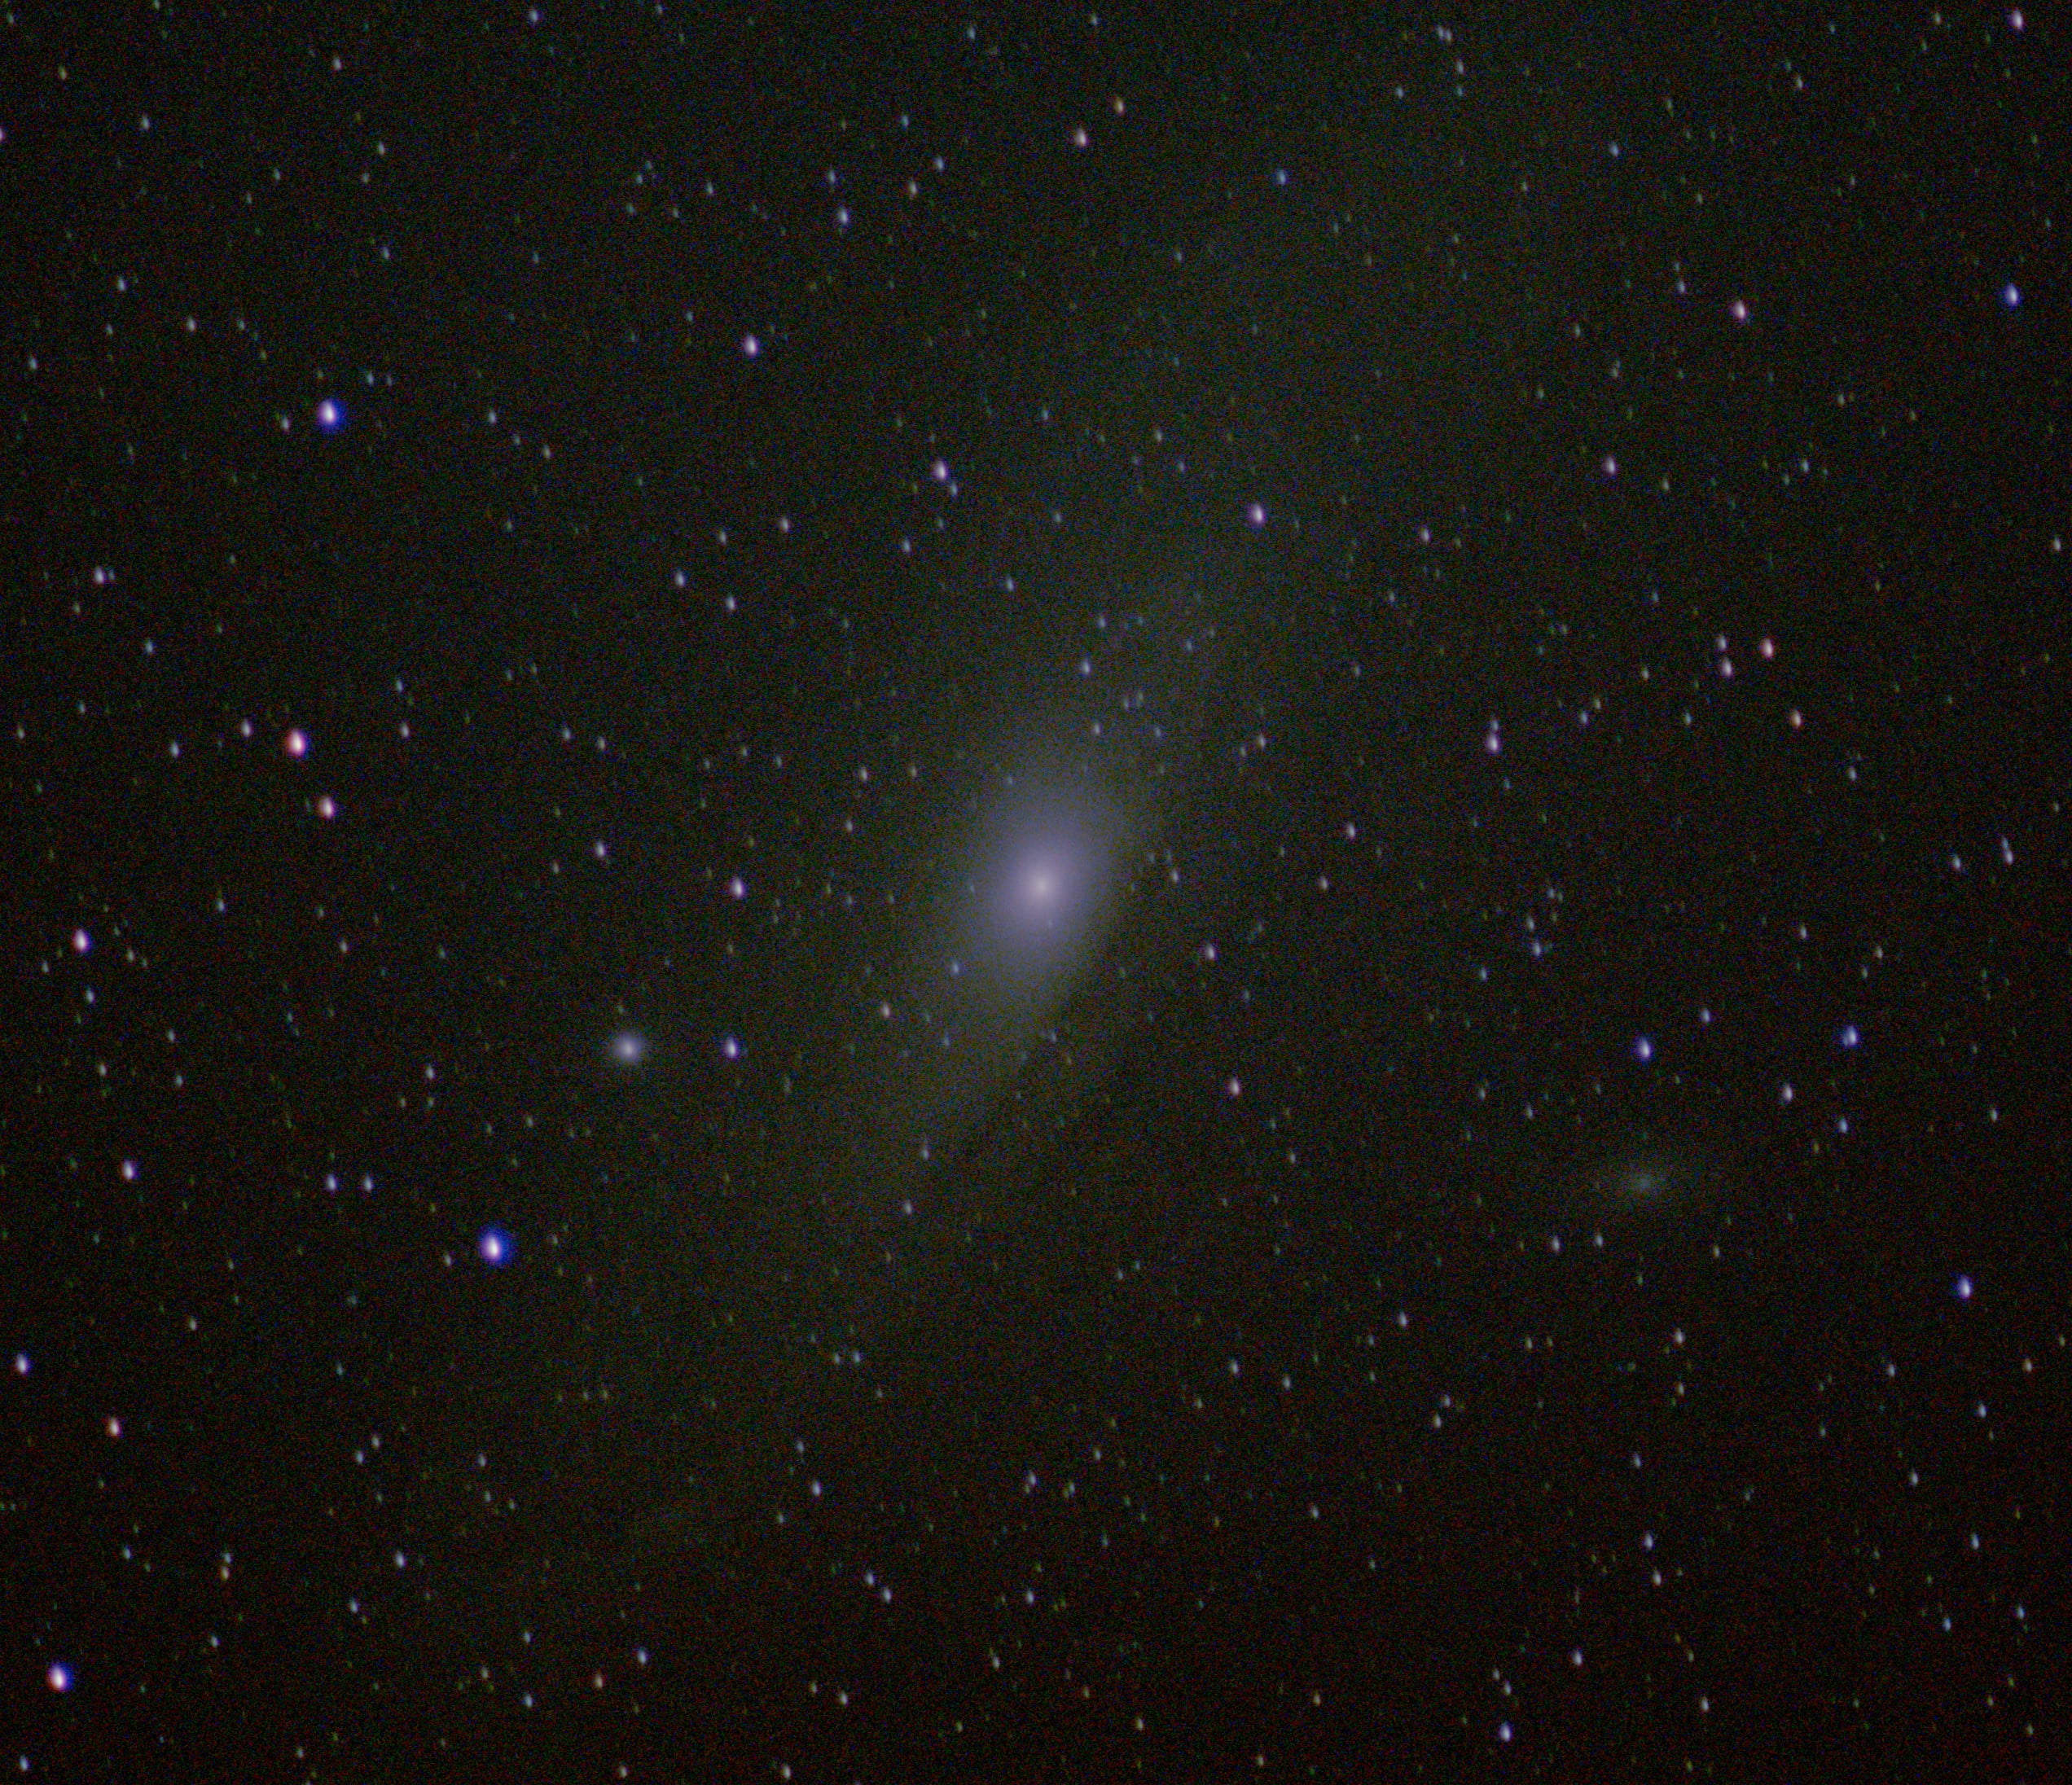
In the final image you can see the Andromeda Galaxy(M31) in the center along with its two satellite galaxies M32 on the right and M101 on the left. The image is significantly more detailed than the individual test shots. I also cropped it and aligned it to the center of the frame. It reveals the dust lanes around the bright core and the surrounding arms of the galaxy which might become more detailed if more a greater number of light frames are taken. I am pretty satisfied with the result as it is the first image of the Andromeda Galaxy I have taken. I will try to do some star reduction and reduce the noise in the future.
Wonderful Talha,very informative.
Very informative. Brilliant work
Wonderful goods from you, man. I’ve be mindful your stuff prior to and you are just too wonderful. I actually like what you have received right here, certainly like what you’re saying and the way in which wherein you assert it. You are making it entertaining and you still take care of to keep it sensible. I can’t wait to read much more from you. This is really a wonderful website.
Well I sincerely liked studying it. This information procured by you is very practical for proper planning.
I am glad to be a visitant of this double dyed web blog! , thanks for this rare information! .
What i do not understood is in reality how you’re now not actually a lot more well-preferred than you may be right now. You are very intelligent. You understand thus considerably relating to this topic, produced me in my view believe it from a lot of numerous angles. Its like women and men aren’t involved except it is something to do with Lady gaga! Your own stuffs excellent. Always care for it up!
It¦s actually a nice and helpful piece of info. I am happy that you just shared this useful information with us. Please stay us up to date like this. Thank you for sharing.
I’d always want to be update on new blog posts on this web site, saved to my bookmarks! .
Hi, Neat post. There’s a problem together with your website in web explorer, might check thisK IE nonetheless is the marketplace chief and a large component of other folks will miss your fantastic writing because of this problem.
Write more, thats all I have to say. Literally, it seems as though you relied on the video to make your point. You obviously know what youre talking about, why throw away your intelligence on just posting videos to your site when you could be giving us something informative to read?
I’d have to examine with you here. Which is not one thing I usually do! I take pleasure in reading a post that may make folks think. Additionally, thanks for permitting me to comment!
Pingback: Photographing the Triangulum Galaxy with a DSLR - Sky Reviews
Pingback: BEST DSLR CAMERAS FOR NIGHTSCAPE PHOTOGRAPHY - Sky Reviews
I’ve learn several just right stuff here. Definitely value bookmarking for revisiting. I surprise how much effort you put to make any such magnificent informative website.
Excellent read, I just passed this onto a friend who was doing some research on that. And he just bought me lunch as I found it for him smile Therefore let me rephrase that: Thanks for lunch! “Remember It is 10 times harder to command the ear than to catch the eye.” by Duncan Maxwell Anderson.