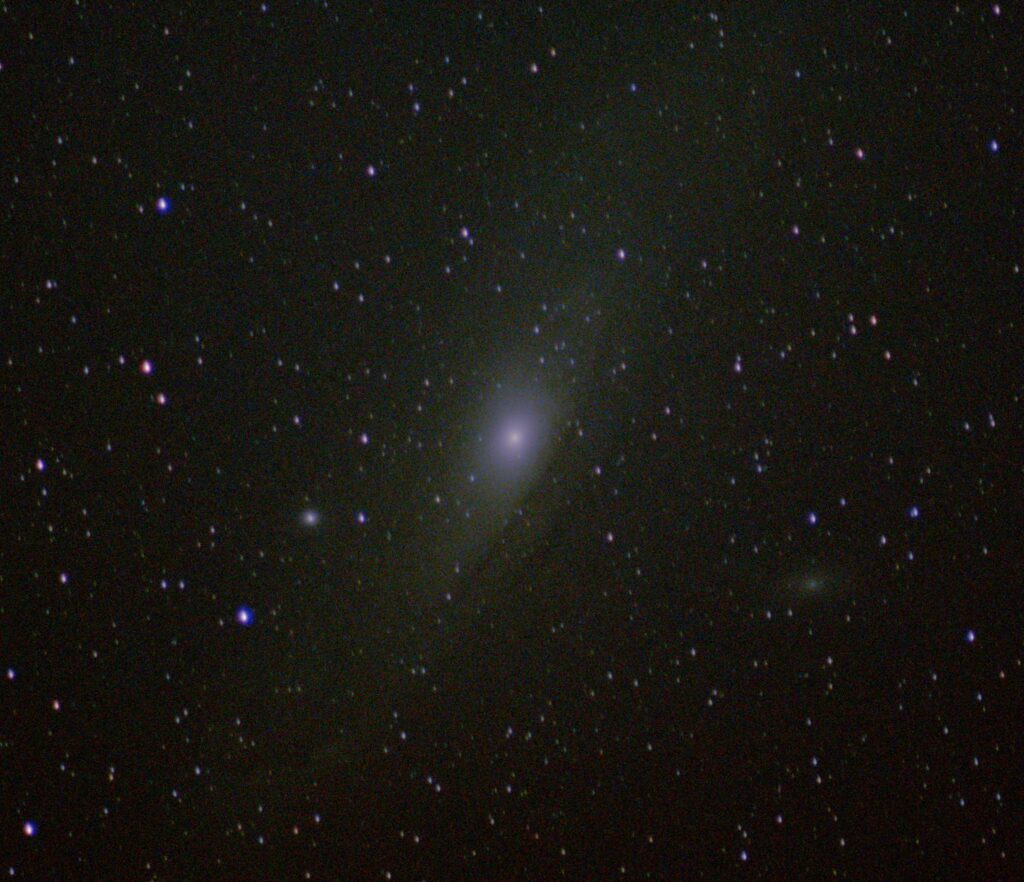
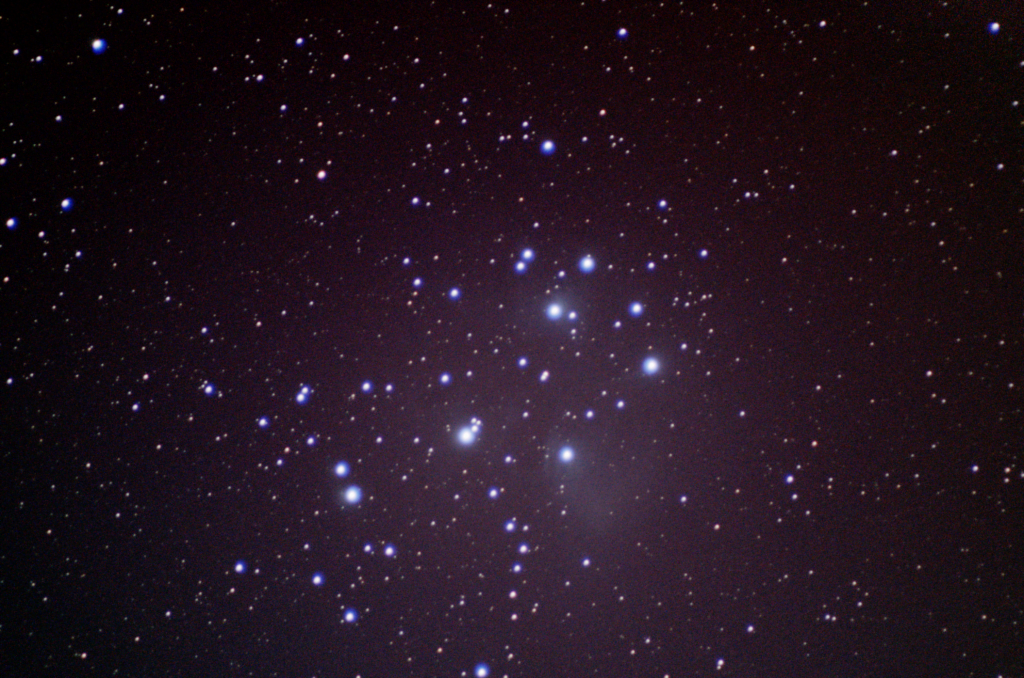
This is a guide to how to photograph the Orion Nebula with just a DSLR and a Tripod. The Orion Nebula is one of the easieast targets for beginner astrophotographers- it is easy to spot and requires little skill and effort to bring up a marvellous picture of the Nebula. Thus, along with The Pleiades and The Andromeda Galaxy, the Orion Nebula is a target for Astrophotograpy.
About The Orion Nebula:-
Nebulae are clouds of dust and gas in space. Some nebula like the Orion Nebula are sites where new stars are born. Being 1344 light years away, the Orion Nebula is the brightest of all nebulae and is visible with the naked eye as a smudge of light beneath the belt of Orion. The Orion Nebula is also one of the easiest photography targets for beginner astrophotographers. With bright colours and dense clouds, pictures of the Nebula make it a highly rewarding target for beginner astrophotographers wanting to do less work.
The Messier Catalogue:-
The Messier Catalogue is named after the French Astronomer Charles Messier. Being a comet hunter, he listed the non-comet objects in the night sky so that he would not mistake them for a comet. Thus, he created the Messier Catalogue, which consisting of about a hundred deep sky objects is one of the most widely used catalogues for naming deep sky objects. The Orion Nebula is Messier 42 in the list.
How to Find the Nebula:-

The Orion nebula is one of the easiest deep sky objects to spot in the night. It is present in the constellation of Orion, which is an easy constellation to find, which is visible for most of the year. Moreover, It is best seen in winter when it stays all night long above the horizon. Look for The Orion Nebula as being the “middle star” in the sword of Orion below the three bright stars that make up the belt of Orion. It can easily seen with the naked eye.
How to Photograph the Orion Nebula:-
The Orion Nebula can be photographed with a simple DSLR and Lens fixed on a tripod. The following settings should be set up on the DSLR for taking the shots.
- Manual Focus
- RAW picture format
- ISO fixed to 3200 (or 1600)
- Exposure: 1 second
- Light Frames: 400
The DSLR and Lens for Photographing the Orion Nebula:-
The DSLR that I used was the Canon 2000d and the lens was a Canon 300mm with an f-stop of 5.6. You can use a similar DSLR and lens which you might already have. Using an affordable DSLR and Lens can actually do much more than you thought it would.
Taking Light Frames:-
Light frames are the actual pictures of the object that you will be stacking later on. So, To get a clear picture of the object, you first need to correct the focus of the camera. This can be done by pointing the camera towards a bright star such as Betelgeuse and adjusting the focus so that you get a clear star on the live view with crisp borders. Now, go ahead and bring the nebula into the centre of the screen. You may need to take a few test shots to see where the nebula is in the picture. Finally, take as many light frames as you can. Remember, the settings must be set before taking the light frames. Especially, keep the exposure at no more than 1.3 seconds or the stars will start trailing. Also, take the pictures in the RAW format as that is crucial for stacking.

Taking Calibration Frames:-
Taking calibration frames isn’t necessary, but they can greatly improve the quality of your final picture and can also make the postprocessing a lot easier. Calibration frames consist of Dark Frames and Flat Frames. To take dark frames, simply cover the lens with its cap and take around 50 pictures keeping the rest of the settings the same. Flat frames are crucial for removing vignetting from the stacked pictures. To take flat frames, set the camera to Av mode and cover the lens with uniform white light. This can be done by covering the lens with a white cloth and taking the frames in daylight while all the other settings are maintained. Take around 50 of these.
Post-Processing with GIMP:-
For post-processing, the software I use is GIMP as it is free and easy to use. Post-processing requires practice and time. It is crucial for getting a wonderful astrophoto. For the most part, I learned this from trial and error working on different stacked photos. Do not be intimidated by this process as you will finally get the hang of it. Apparantly, I have not mastered it and there are several things I look forward to improving on.
The Final Image:-


Outstanding work!
I’d must test with you here. Which isn’t one thing I usually do! I take pleasure in studying a post that will make individuals think. Additionally, thanks for allowing me to remark!
I love the efforts you have put in this, thanks for all the great content.
thanks
I appreciate, cause I found just what I was looking for. You have ended my four day long hunt! God Bless you man. Have a great day. Bye
I conceive other website owners should take this site as an example , very clean and superb user genial design.
Yay google is my queen helped me to find this great internet site! .
Thanks for sharing excellent informations. Your web-site is very cool. I’m impressed by the details that you have on this web site. It reveals how nicely you perceive this subject. Bookmarked this web page, will come back for extra articles. You, my friend, ROCK! I found simply the information I already searched all over the place and simply could not come across. What a great website.
I like the helpful info you provide in your articles. I’ll bookmark your blog and check again here frequently. I am quite certain I’ll learn lots of new stuff right here! Good luck for the next!
Your perspective is enlightening! Have you tried Sprunki? It’s where ideas become reality.
The article’s focus on creative freedom finds its ultimate expression in Dandy’s World Game‘s completely open music production environment constrained only by player imagination.
Your insights are golden! Find more gold in Sprunki Game.
Hello very nice web site!! Guy .. Beautiful .. Wonderful .. I will bookmark your website and take the feeds additionallyKI am glad to search out a lot of helpful info here in the publish, we want develop extra strategies on this regard, thank you for sharing. . . . . .